
We have a lot of work to put into this trailer but I'm not going to fork over $10k for a brand new trailer that fits my needs. I think that's ridiculous!! Trailers are outrageously priced!!! Anyways....
When I first got the trailer, the day after I swept out the tack room. It has icky carpet that we'll tear out and lots of odd duck tape areas where the tack room light, outside spot light and horse section lighting wiring runs. This wasn't done correctly. Steve wants to redo the rest of the wiring as well so that will be a project for him and I'll be happy to have all new wiring. Even though it works right now it will be good to know it's new and will most likely not need maintenance for a while.

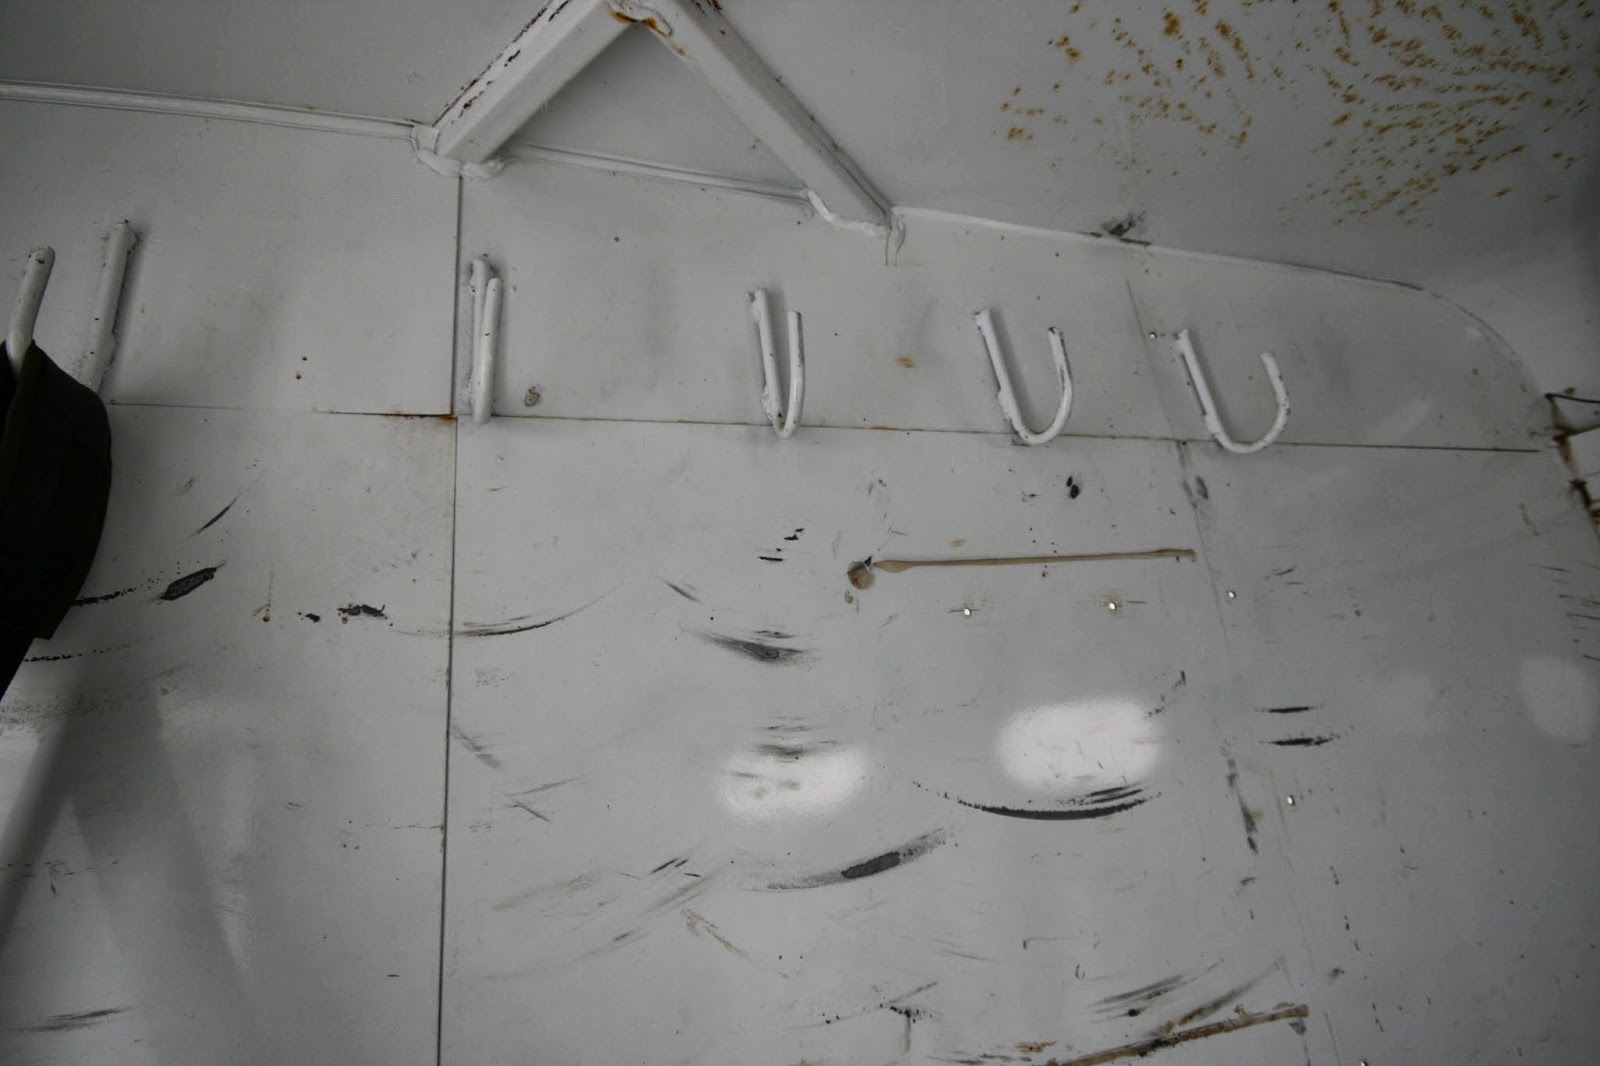
Steve and I went out today to work on the trailer a bit. We aren't near ready to sand, seal and prime yet. We still have bolts to remove, odd things to remove and assess the wiring. We had a lot of little things to start on like see that wood piece just screwed to the back wall in the picture above? What is that for? We needed to remove that since the screws were sharp and sticking out. Also duct tape residue and clear caulking, that I assume was glopped on to hide the interior lighting wiring, will need to be scraped off in order to prepare for refinishing.
The tack room was filthy. Once we get the carpet up and the saddle stand out I'll be better able to clean and get it tidy. Then I'll start the refinishing in this room since it's small and will be easier to learn the techniques I'll need for the Corroseal. We'll also use some Bonda after the rust converter since there is a ridiculous amount of drilled holes in some of the walls. Not sure if there used to be shelves or what but all those holes need to be sealed or they will rust and cause future issues.

It's amazing once things are cleaner that you can see how roomy a place is. We've decided that the saddle stand will come out completely since it's not the best use of space compared with saddle racks that could be placed directly on one of the walls. The bolts are on pretty tight so Steve and I couldn't get it out today but will use a hack saw hopefully tomorrow. We have to get this out in order to remove the carpet and measure my rubber mats for cutting.

The inside horse area has the worst rust, but it's all surface and from lack of maintenance. I'm imagining there was not much touching up to the paint that chipped via moving hooves. The boards for the floor all look good and the mats are nice too. They were still cold in the picture below so hadn't fully flattened out in this picture. Steve and I took off all the tinted plexi glass that covered the "windows". The whole purpose of this type of trailer is lots of airflow. We can always get screens for the inside to protect against debris etc. coming into the trailer but that's a ways down the road.

All the latches for the divider panels work nicely, they just need a good sanding and then the rust treatment. I find them very easy to use and can also buy padding to put on the dividers and make it more cushy for the ponies but as it is, the areas are smooth and will work well.

The last divider has a telescoping end in order to fit inside the trailer when the doors are closed and the divider is still in the open position. It will definitely need some sanding and de-rusting but it still functions well. We'll get it moving smooth as silk in no time.

Below is the light for the interior of the horse section. Steve and I removed it and the wiring for it as well. We think it will be best to install one or two dome lights on the ceiling of the trailer for lighting so it won't be glaring into the eyes of a horse we are trying to load.

We removed the rest of the interior lighting that was wired badly and not working. Some of the lights we may be able to reuse. Steve wants to put the switches all inside the tack room and have one for the tack room, one for the horse section and one for the outside lights. We'll have these lights run off a battery in the tack room since we don't want to have it only able to run if connected to the truck and the truck is running.

As we'll be repainting the outside I'll be taking off the reflective tape that has certainly seen better days. I've seen in the trailer accessory store, among other places, a kit for the back that has the reflective tape and a "Caution Horses" sign that can be place on there.

The door latches don't have the cam latch hasp with the holes for clipping either a carabiner or lock on for added security. The latches are secure but I want the benefit of having a that extra protection in case the actual bar bumps up. We certainly don't want any doors coming open during hauling!


Steve and I removed the "hooks" that were installed to hold fence panels. I don't plan on using that, I'll probably want to use something more like this when I'm on an overnight trail ride. It's a simple electrified corral that uses a battery and can be set to be 80' x 80'. I can also try high tie with trees or perhaps install the HiTie system on the trailer though I'm not so sure that it would work as well when we have multiple horses. I just have to see what works best for Dani.

Those plexiglass windows were all removed as I said before and we started to remove the screws that had plastic holders on them. For each section it was 4 screws. I broke my screwdriver on one!!! It was a Husky screw driver so not a cheapo tool. Ugh! We'll get a replacement and tomorrow come out with a power tool to get all the rest of the screws since we have about 32 or so total screws. Then all those holes will need to be sanded, treated and Bondo applied. Around each there is a clear caulk that I'll need to scrape off.


We placed my chock blocks where they needed to be and gave David back his wood and rock that he often uses for a little flatbed trailer. Steve tied some string to it so I can grab it and toss it in the tack room.

Then we backed up the truck to hook the trailer to our hitch in order to place a foot on the jack stand. I tested my guide balls and found they weren't working as well as advertised. They were only $11 but still. I'll have to keep playing with them and see what placement works best so I can learn to attach the trailer by myself. It's just a new skill I'll need to learn.

Tomorrow, Steve and I will get that saddle stand removed....not sure if I'll list it on craigslist or not...I don't see a use for it since we have decided to remove it entirely from the trailer and I already have saddle stands for my current saddles. We'll get the rest of the screws off the trailer too. At least now we have a plan of attack. We'll get the tack room sorted and the wiring for interior lights as well as the driving lights. That's our next step. Weeeee!!
3 comments:
Big project, but how cool will it be once your finished! I hope you document the whole process on here!:)
Wow, a lot of work but overall the trailer looks great and will look even better with all of it's new renovations.
That is a lot of work but it'll all pay off in the end! It'll be nice to have your own trailer for hauling.
Post a Comment